
中文版:WordPress / 架站教學一:使用 Google 台灣主機免費架設自己的網站 (Mac/Win版)
Many people attempt to build their own website, blog, or even business website, but they totally have no idea about how to do. We could find that there are lots of website building services online. Many of them are all free! Such as the website builders, wix.com, weebly.com, or some blog communities, like Blogger, Pixnet.
The main reason why I won’t recommend you to use such blog community is that, in general speaking, there are a lot of advertising on this kind of platform, and even the advertising would be automatically inserted into your page. It will might destroy the layout. Also, it’s harder to personalise your own website, web address, or the whole website structure.
By comparison, website builder, the former, provides flexible setting and better user interface to personalise your site through drag and drop. Or, you could modify deeper through altering the code. WordPress is one of the famous website building software, which has a large development community, and abundance of themes, plugins, or tools for expanding website features and functions. We could easily find some big brands building their websites by WordPress, such as Sony Music、Bloomberg Professional、BBC America. (referring to this article: 40+ Most Notable Big Name Brands that are Using WordPress)
However, we need a bit more complex knowledge about technical detail for using WordPress. This tutorial will teach you how to build your own website step by step.
Firstly, we choose Google Cloud Platform (GCP) as our server to deploy our WordPress application. Although GCP is not a free service, Google still provides a free trial for USD$ 300 in one year.
Initialise Google Cloud Platform (GCP) account and establish the environment
Firstly, if you don’t have a google account, register it.
▍ Initialise Google Cloud service
If you have never used GCP service, you need to initialise your account through Cloud Computing Services .
1. Click Get started for free
2. Fill in personal information
Select country: Select the country which is your nationality or your business is registered in.
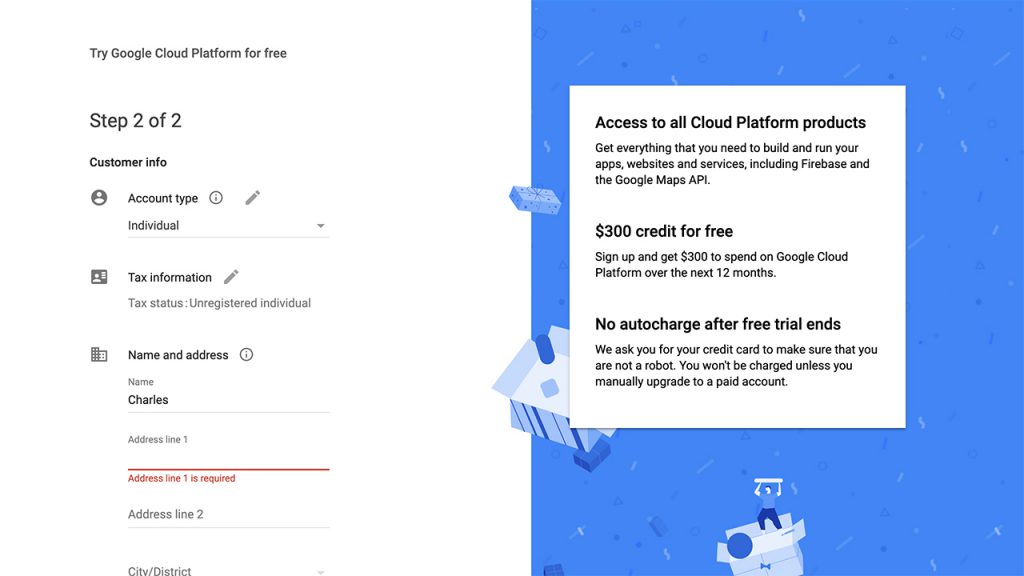
Fill in your personal information:
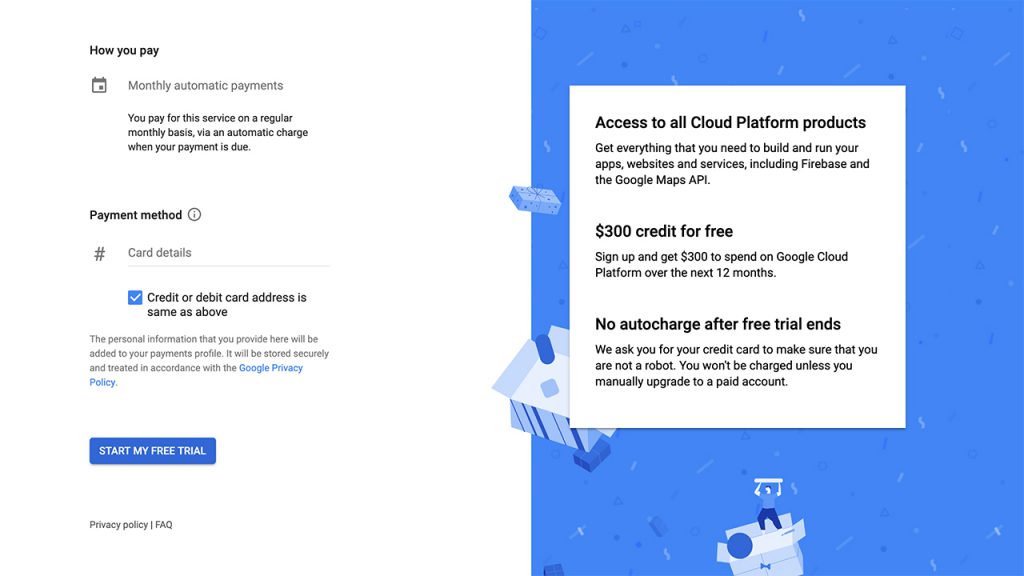
Select Individual, Unregistered individual, and then your payment detail.
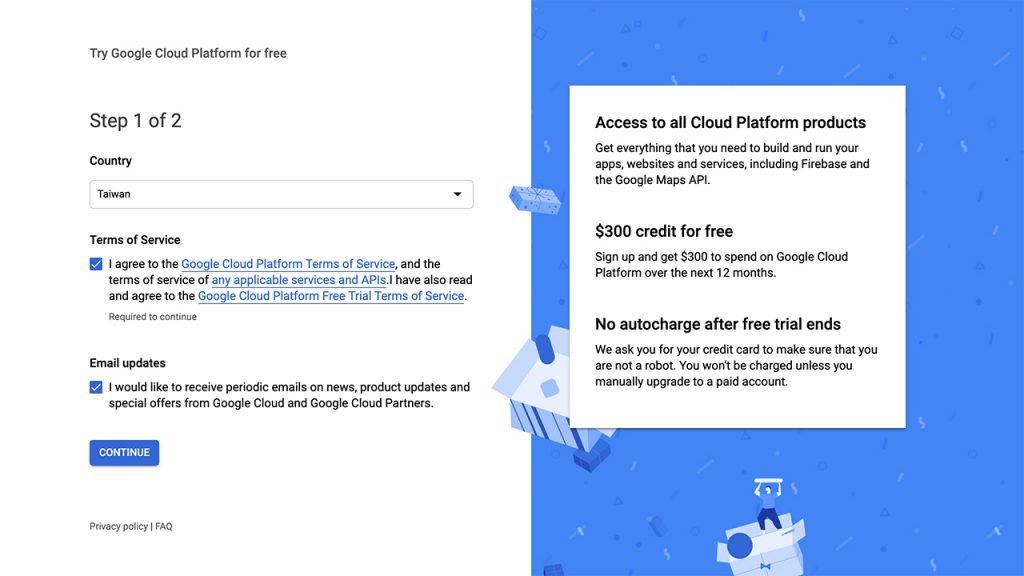
Here, although Google asks you to fill in your payment information, Google still guarantee that they won’t autocharge after your free trail ends. They just want to make sure you are not a robot.
▍ Create a new project
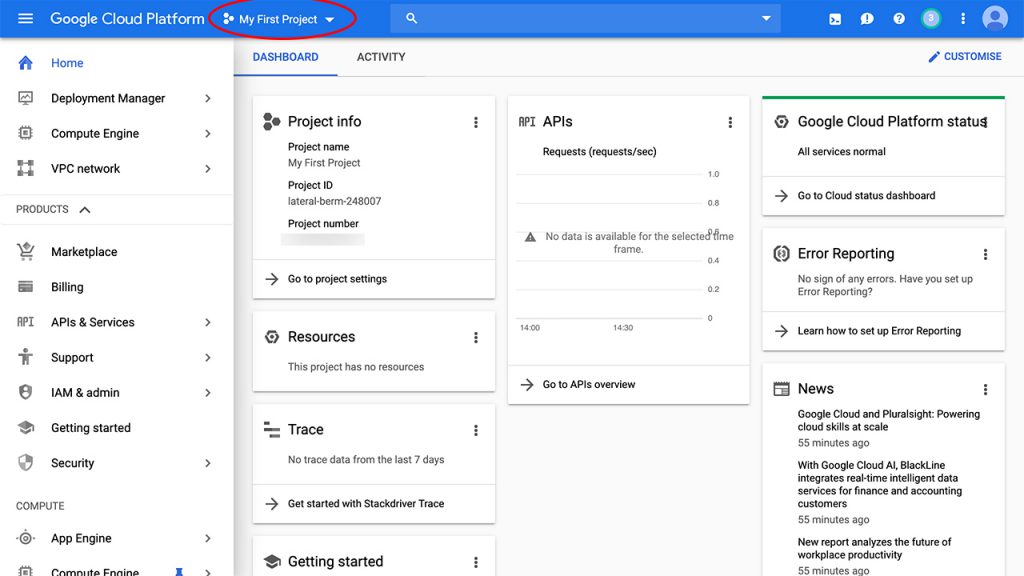
Once you complete initialising your account, you could see a default project has made by google. But I prefer to create a whole new project by myself.
1. Click the project and create a NEW PROJECT
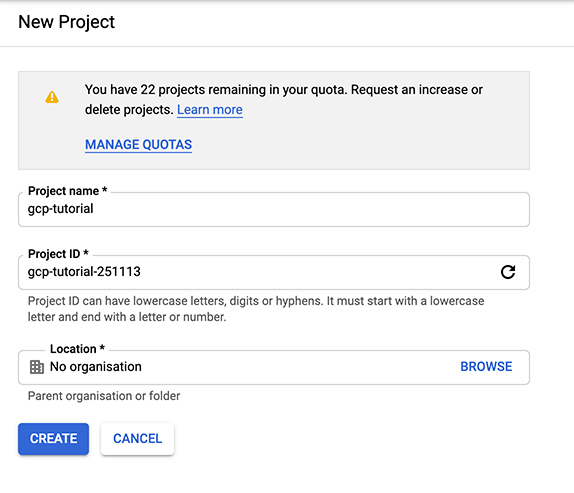
2. Determine project name and ID.
Need to notice that the project ID CANNOT be changed after the project has being created.
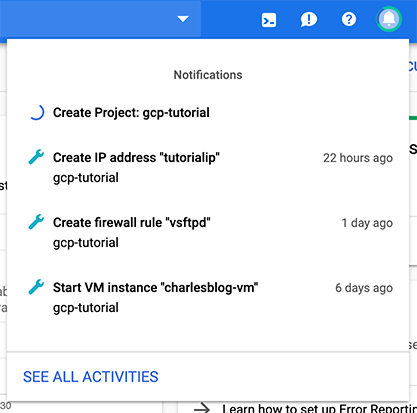
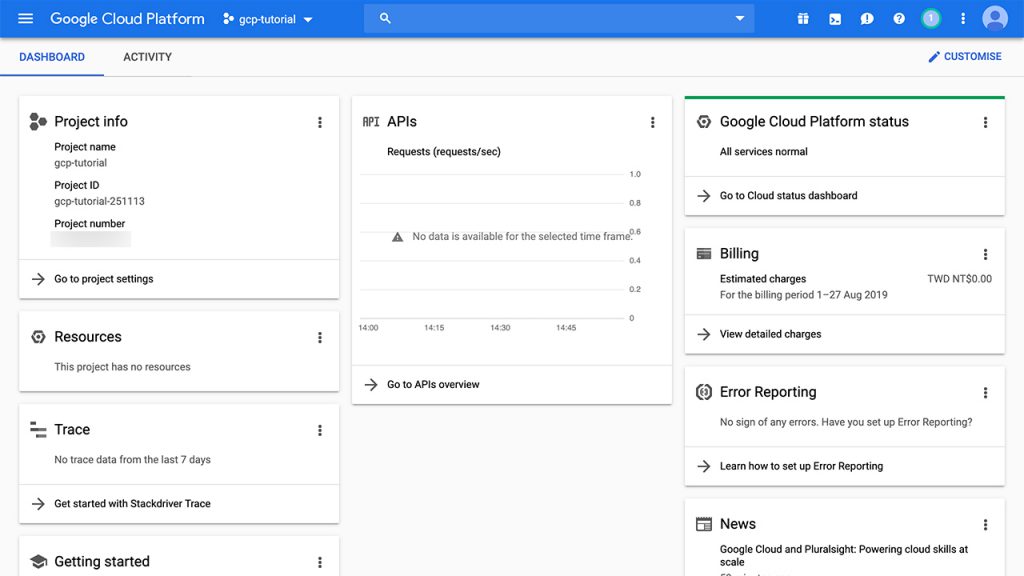
Waiting for couple of minutes, the project will be made! Now you could see your new project in the list.
▍ Install Google Cloud SDK
In order to control the server on GCP, we need to install Google Cloud SDK (gcloud) to control the VM Instance (Virtual Machine Instance, Linux) through SSH command line. (Referring to this document: Virtual Machine Instances)
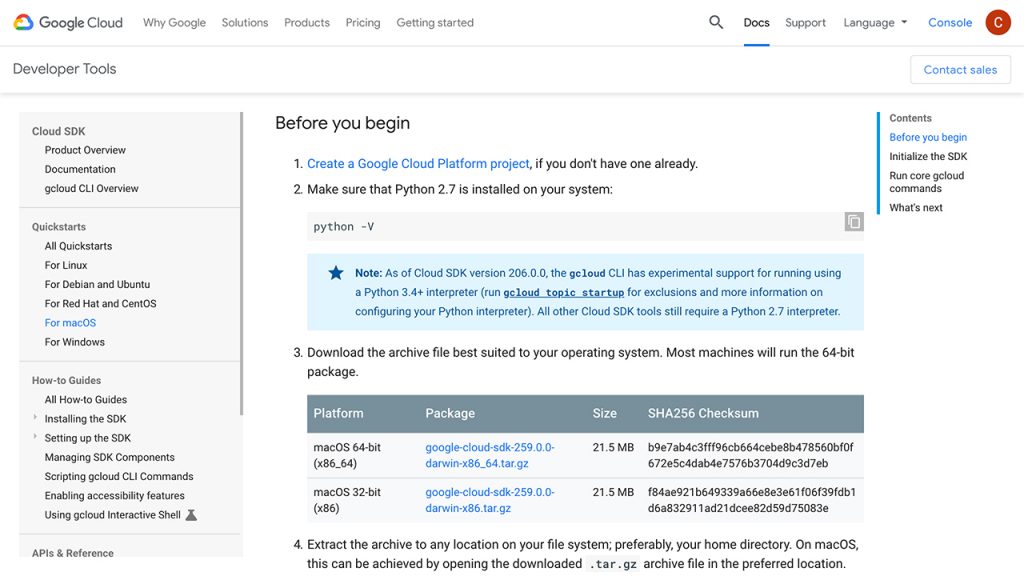
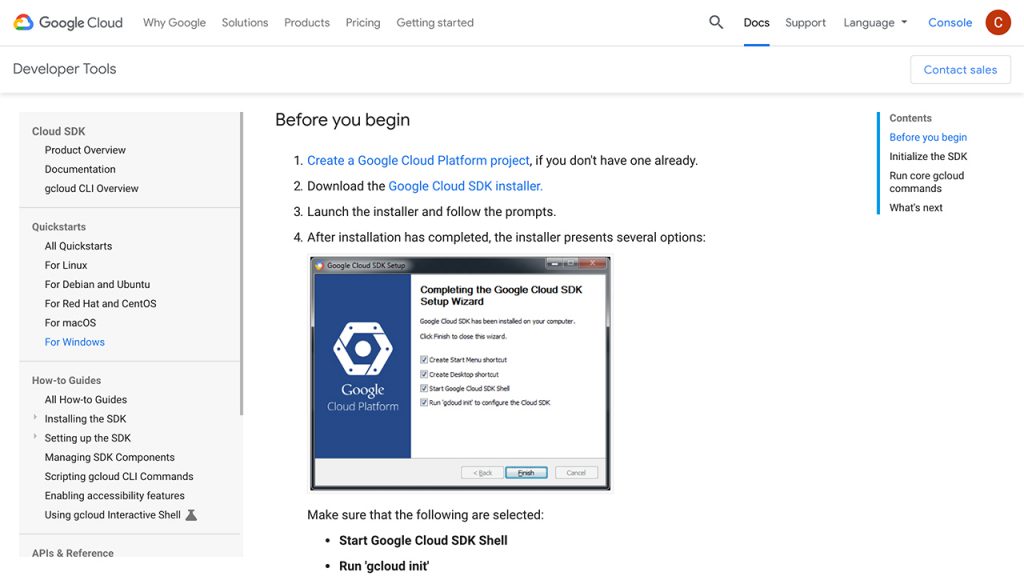
1. Download SDK installer
Google Cloud SDK installer could be found here (https://cloud.google.com/sdk/). Choose the correct one for your OS.
Mac:
1. Download google-cloud-sdk and decompress it. And then, move the whole folder to the root directory (i.e. /user)
2. Launch terminal
python -vUse this command to check the version of Python. It should be higher than ver. 2.7.
3. Run the installer
cd google-cloud-sdk

./install.sh
Use these commands to move into the SDK folder, and run the installer.
Do you want to help improve the Google Cloud SDK (Y/n)? yNormally yes.
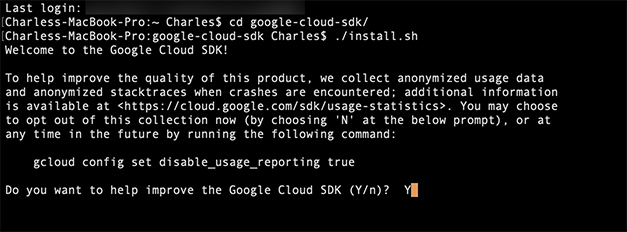
4. And the installation would complete automatically!
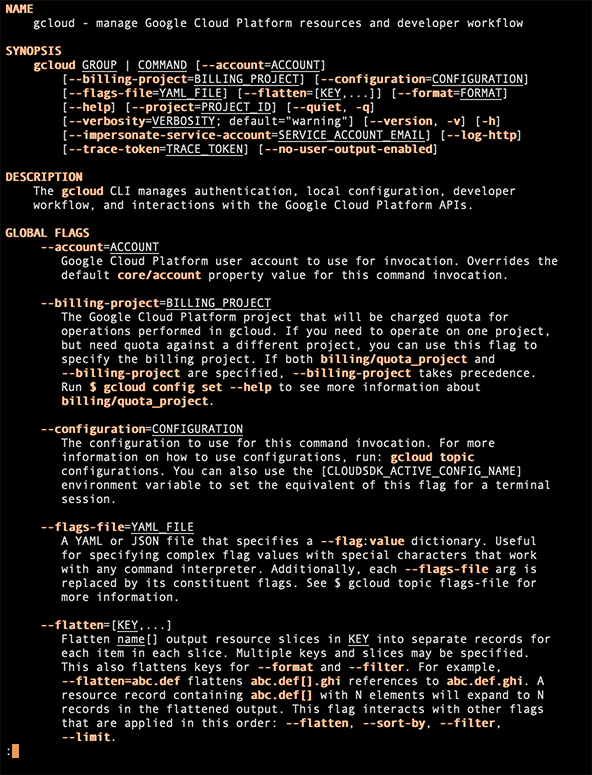
5. Check whether the SDK has been correctly installed. Run the command below:
gcloud --helpIf the installation has been successfully installed, you will see the document. Press Q to leave the document.
6. (Option) Set environment variable
If there is no SDK document, we need to set the environment variable, adding the directory of gcloud SDK in. Run this to list environment variables:
printenvIf the gcloud SDK has been here, it should be:
PATH=/Users/username/google-cloud-sdk/bin:/usr/local/bin:/usr/bin:/bin:/usr/sbin:/sbinRed words are the user name of your mac and the following of PATH is the directory of gcloud SDK.
To add the environment variable:
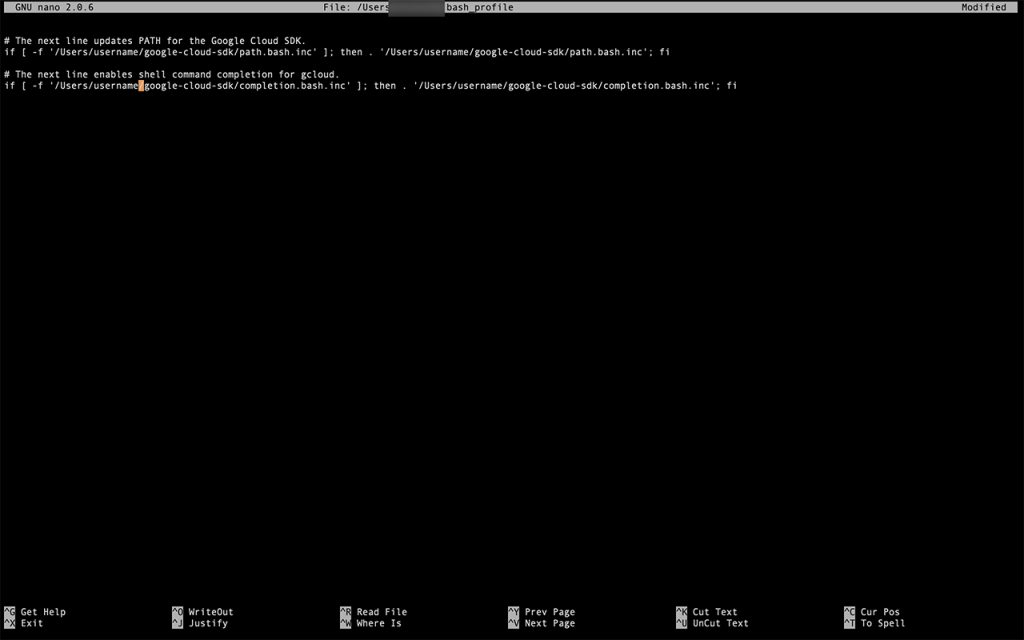
nano ~/.bash_profileUsing nano editor to edit the environment variables.
And add the text below at the end of file.
Press Control + X to save and leave the editor.
# The next line updates PATH for the Google Cloud SDK.
if [ -f '/Users/username/google-cloud-sdk/path.bash.inc' ]; then . '/Users/username/google-cloud-sdk/path.bash.inc'; fi

# The next line enables shell command completion for gcloud.
if [ -f '/Users/username/google-cloud-sdk/completion.bash.inc' ]; then . '/Users/username/google-cloud-sdk/completion.bash.inc'; fi
Press Y to save, and Enter to override the file.
7. Re-start the terminal and the installation was done.
Windows:
1. Download the installer, and launch it directly.
2. Follow the hints and the installation will complete automatically.
3. Launch cmd and run this command, the document should be opened.
gcloud --helpPress Q to leave. If it’s failed, then we need to set the environment variables.
4. (Option) Set environment variables:
Add the directory of gcloud SDK into the environment variable PATH:
C:\Program Files\Google\Cloud SDK\google-cloud-sdk\bin▍ Launch Google Cloud SDK
1. Run this command to initialise gcloud SDK
gcloud init2. Login google account
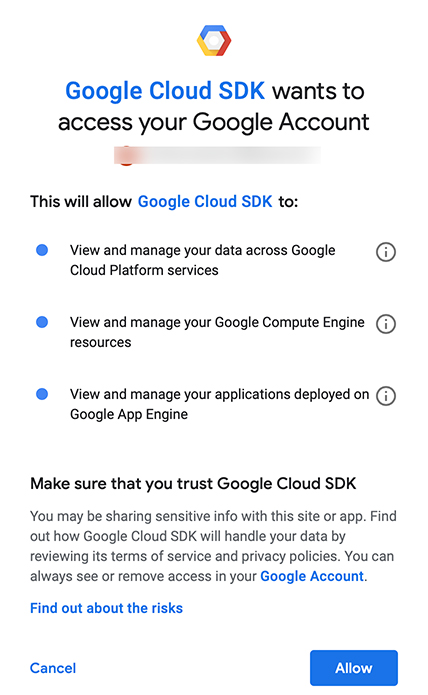
To continue, you must log in. Would you like to log in (Y/n)? Y3. Authorise google SDK to access your account.
4. After login, you could see a project list, including the project we just created. Pick that one.
Pick cloud project to use:

[1] [my-project-1]

[2] [gcp-tutorial]

...

Please enter your numeric choice:
5. Select Compute Engine
If SDK asks you to select a Compute Engine zone, I recommand you to select the server which is close to you or your main client. The connection speed would be faster. Refer to the list: https://cloud.google.com/compute/docs/regions-zones/
Build a WordPress website
Here, we have completed all setting already. We could be back to Google Cloud to build our WordPress website!
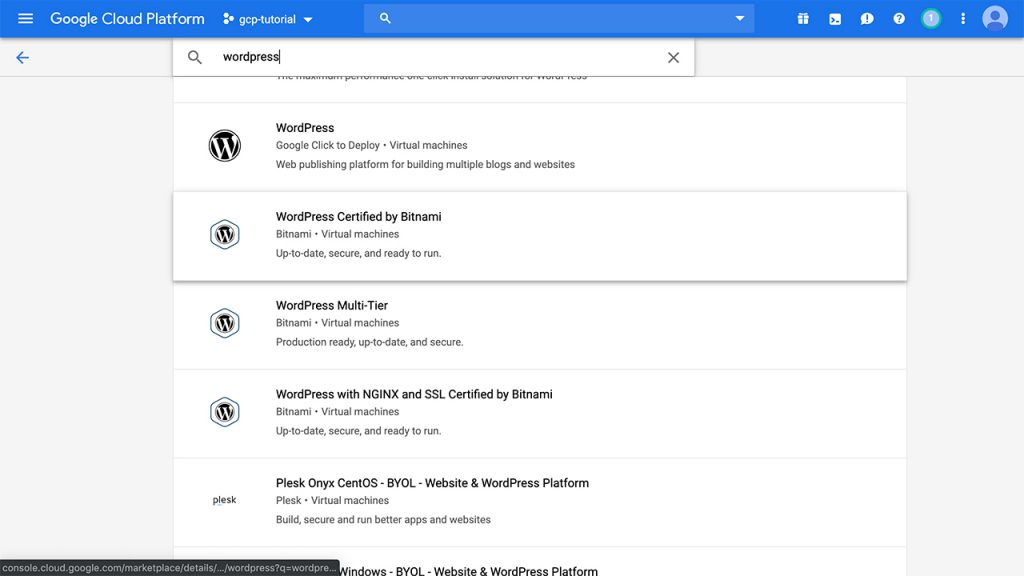
Google Cloud Market provides many solutions to help you automatically deploy the environment, such as LAMP (Linux + Apache + MySQL + PHP)、MongoDB. Search WordPress.
▍ Deploy WordPress environment
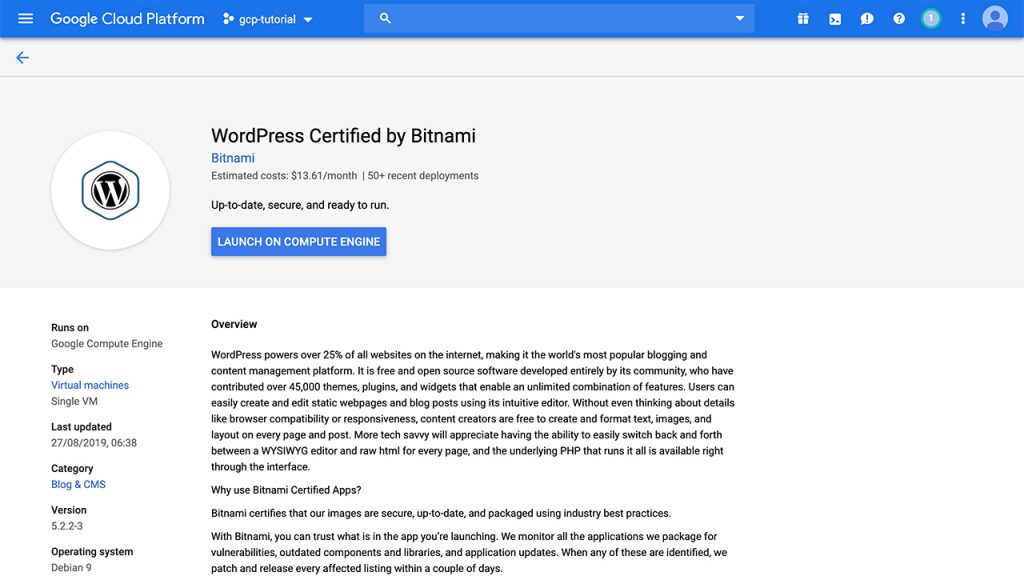
WordPress is an open source website building software. We could find that there are few packages shown here. These are provided by different institutions, providing the basic setting and optimising the system.
So far, the most popular solution are WordPress Certified by Bitnami and WordPress (Google). Bitnami has optimised the setting the wordpress system, so we choose its solution here.
Deployment steps:
1. Select WordPress Certified by Bitnami
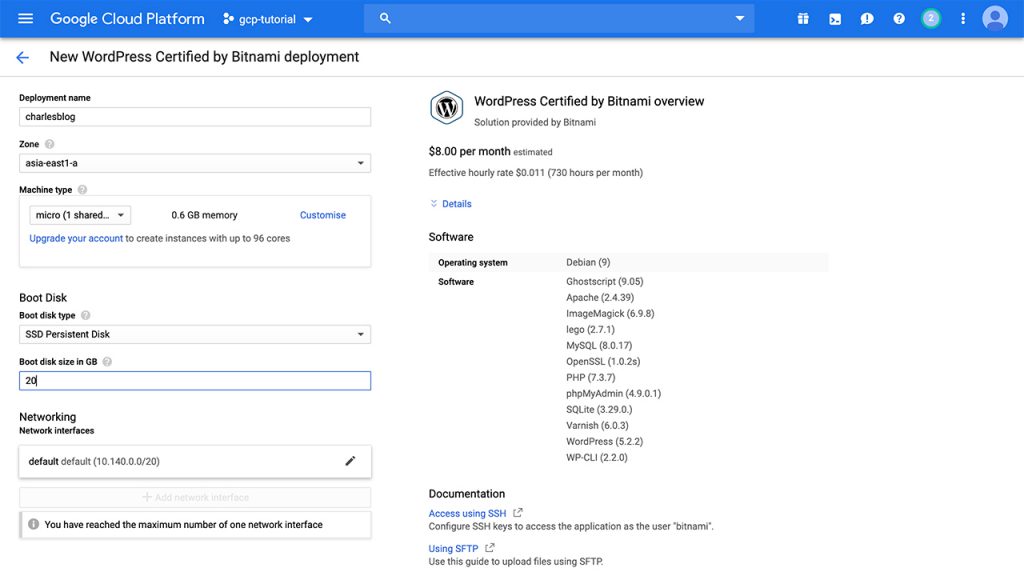
2. Set the server
the main options are:
Deployment name: charlesblog
Zone: asia-east1-a
Choose the server which is close to you or your main client.
Machine type: micro (1 shared vCPU), 0.6 GB memory, f1-micro
Set the virtual machine's CPU and size of RAM. For small website, just need to use the smallest one.
Boot disk type: SSD Persistent Disk
Boot disk size in GB: 20GB
3. Accept the terms and deploy it.
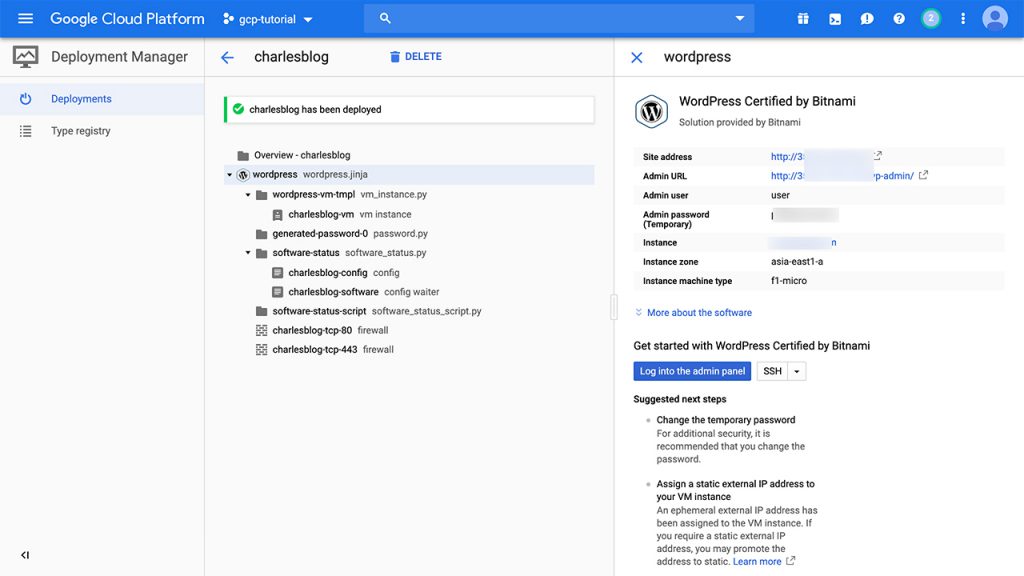
4. After that, your WordPress website has been built yet.
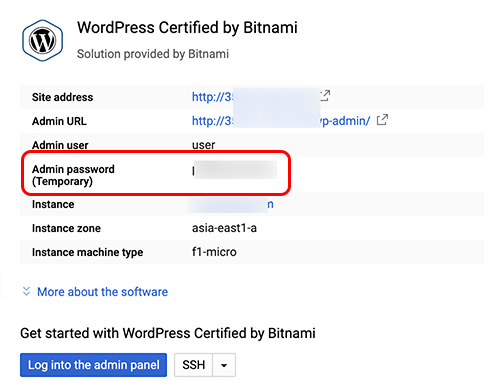
The panel at right hand side shows the basic but important information of your website:
Server address: The IP address of your server, and it's also the address of website now.
Admin URL: the URL of backend
Admin user: default account
Admin password: default password
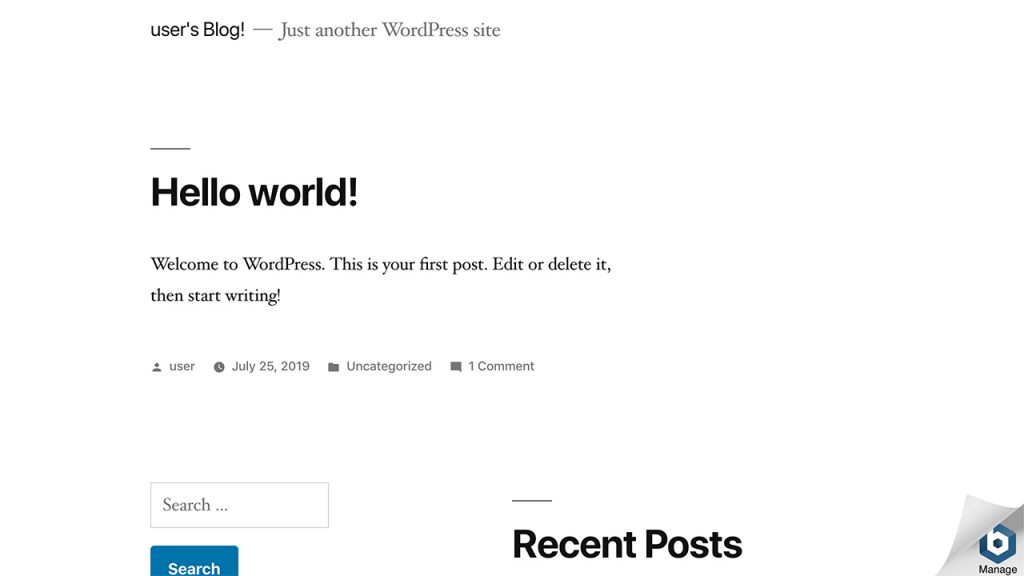
5. Click the address to access the home page.
6. Login to the backend control panel
Use this url: http://your-ip-address/wp-admin
Replace “your-ip-address” with your IP address.
The default account is: user
The default password is shown on the panel of GCP instance.
7. Modify the password (Important!!)
It’s very dangerous to use the default password. Remember to change the password once you login to the backend.
Login to the backend control panel > Users > New Password

It’s Your Own Website!!
Here, you have finished building your website! Now, you could start to personalise your website, the layout, and start to write your article.
But otherwise, there are many setting we need to do. It’s just a beginning of our tutorial. Such as setting FTP server, and then you could upload any file or set your website by FTP. Or assign a domain name to your server, you won’t want to use the real IP address as the URL of your website always.
Next: WordPress / Tutorial #2: How to remote control through SSH and setup FTP Server on GCP with WordPress Bitnami
WordPress Tutorial, to build and migrate the website
WordPress Tutorial #1: How to install WordPress on Google Cloud Platform (GCP)
WordPress Tutorial #2: How to remote control through SSH and setup FTP Server on GCP with WordPress Bitnami